 Serden Group
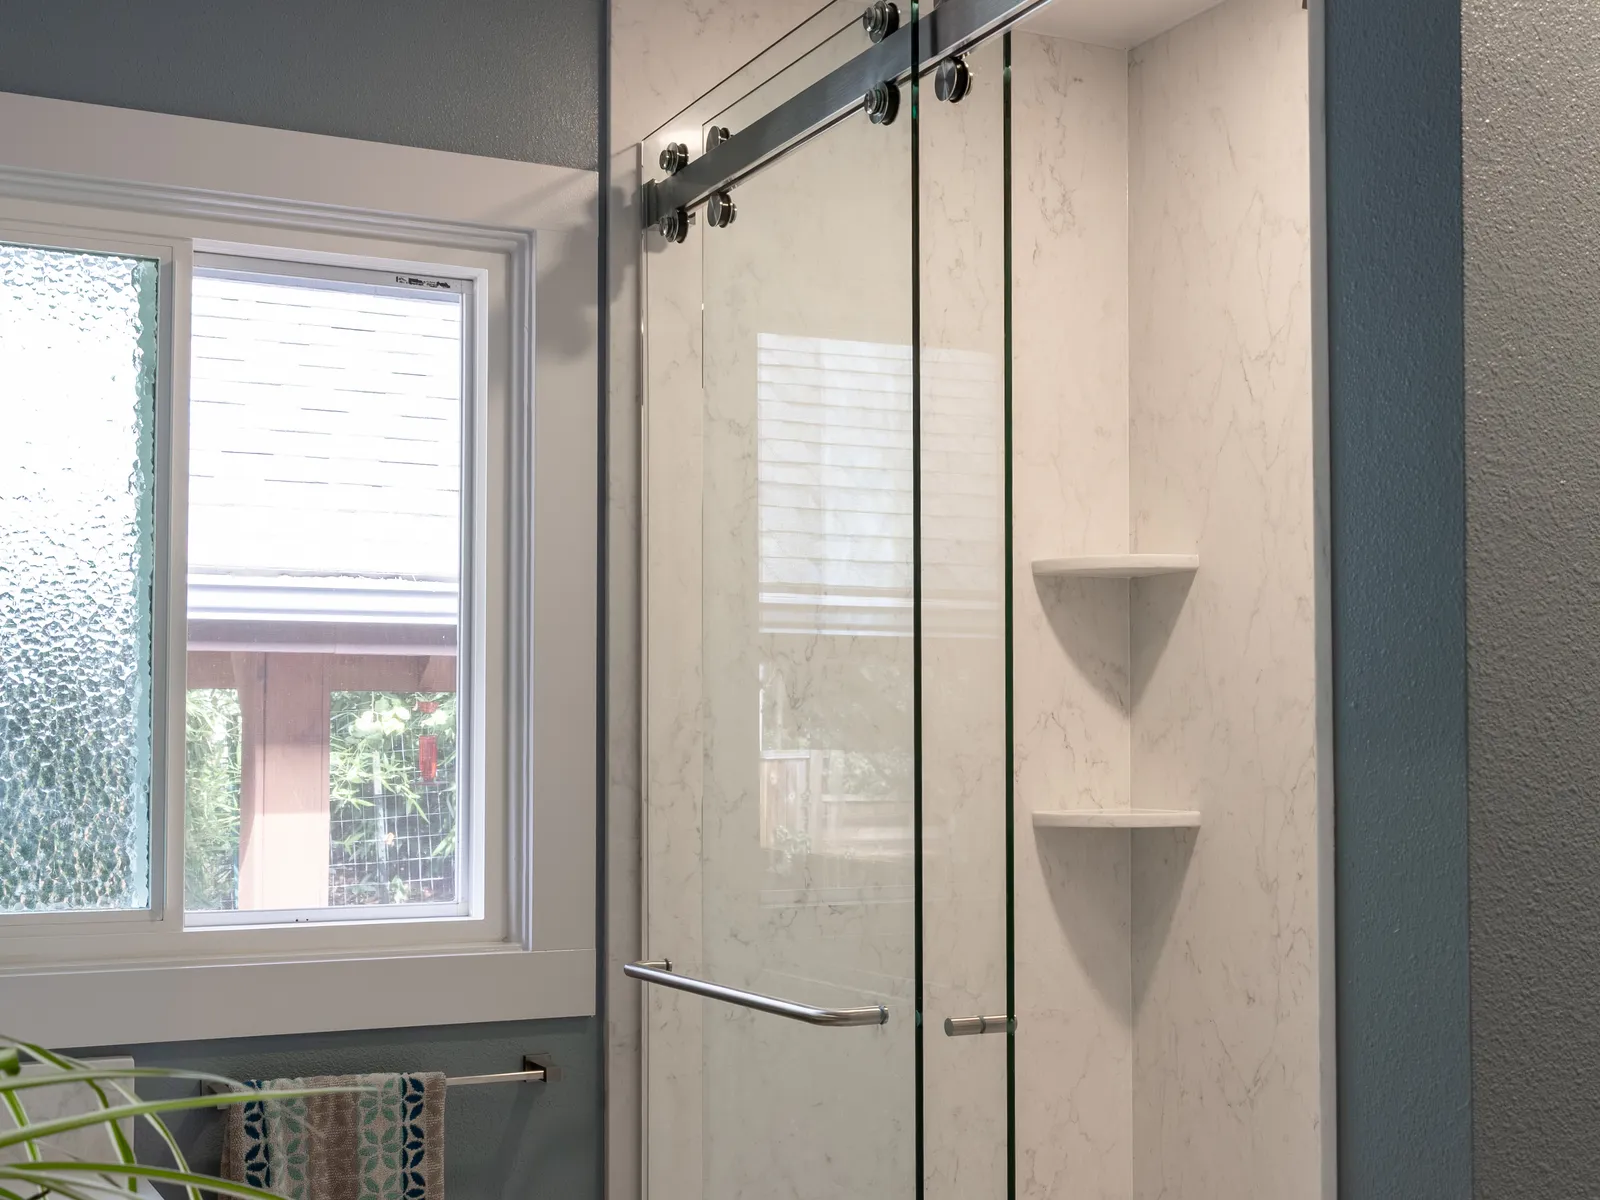
Replacing a bathtub with a shower can make a bathroom easier to use, easier to clean, and better suited to the way your household actually bathes. The important decisions happen before you choose the tile: how you will enter the shower, where water will go, what is behind the existing walls, and what your estimate really includes.
If you are planning a tub-to-shower conversion in Vancouver, WA, this guide explains your options, the factors that shape the price, and how to compare contractors. The same planning questions apply in Portland and throughout the country; local labor costs, permit rules, and the condition of your home will change the final proposal.
A conversion removes the bathtub and replaces it with a shower base, wall system, fixtures, and a water-containment solution. Keeping the existing alcove can simplify the work, but it does not guarantee the existing drain is suitable. A walk-in shower can still have a curb; a curbless shower needs additional planning for floor height, drainage, and waterproofing.
How Much Does a Tub-to-Shower Conversion Cost?
There is no single dependable price for every conversion. A factory-made base and wall-panel system is a different project from a custom tiled shower with floor modifications and made-to-measure glass.
For broad national context, Angi’s 2026 cost guide publishes an overall range of approximately $1,200–$15,000. This is a national reference, not a Vancouver market average or a Serden Group quote. Complex work can exceed that range. A low advertised starting price may also describe a narrower scope than your bathroom needs.
For a useful local budget, ask for separate proposals for the shower you want and any wider bathroom upgrades. Do not assume vanity replacement, room flooring, painting, or an exhaust-fan upgrade is included in a shower-only price. Our bathroom remodel cost guide covers those wider line items.
| Conversion option | Budget considerations | What to confirm |
|---|---|---|
| Factory-made base and wall panels | Often the simplest construction path when a standard system fits. | Exact product, base support, valve work, enclosure, wall repairs, and disposal. |
| Factory-made base with tile walls | Combines a manufactured shower floor with custom wall finishes. | Waterproof transitions between the base and walls, tile allowance, shelves, and glass. |
| Custom tile shower | More site work and finish labor; design and tile selection affect the price. | Pan construction, waterproofing, drain, tile layout, niches, and enclosure. |
| Curbless or expanded shower | Floor assembly, structural conditions, and work beyond the original alcove can increase scope. | Finished floor heights, drainage strategy, bathroom-floor protection, and required design work. |
Why two estimates can be thousands of dollars apart
Start by comparing scope rather than the total. One proposal may include a new valve, glass enclosure, permits, and repairs around the opening; another may exclude them. An allowance is a budget for a selection, not a promise that every product you choose will fit within it.
Ask whether each price includes labor, materials, contractor coordination, disposal, applicable taxes, and finish repairs. Also ask how concealed damage will be documented and priced before additional work proceeds.
Example: “Shower installation” could mean installing a purchased kit into a prepared opening, or removing an old cast-iron tub, rebuilding damaged framing, changing plumbing, and completing a new enclosure. Those totals should not be compared as if they buy the same result.
Can a Walk-In Shower Fit Where Your Bathtub Is Now?
Often, yes. Many alcove tubs occupy a space roughly five feet long, making the existing opening a practical starting point. However, the visible dimensions of the tub are not the finished interior dimensions of the replacement shower.
Before ordering a shower base, have the opening measured and check:
- The available width and depth after the old surround is removed.
- Drain location, pipe condition, and access from below.
- Door swing and conflicts with the toilet, vanity, or bathroom door.
- Windows, sloped ceilings, and existing shelves inside the wet area.
- Space for a seat, controls, or a helper if those are needed.
A bench can be useful, but it also occupies standing space. Likewise, replacing a tub with a shower in the same footprint does not necessarily create more bathroom floor space. The improvement may be easier entry and a more open appearance.
Acrylic, Solid-Surface Panels, or Tile: Which Should You Choose?
Acrylic and other manufactured wall systems
Manufactured systems suit homeowners who want fewer grout joints and a coordinated product package. Compare the exact material and construction rather than relying on labels such as “premium panels.” Acrylic, fiberglass, and other panel products are not interchangeable.
Review the cleaning instructions, available base sizes, shelf options, repair procedures, and warranty exclusions. Seams and sealant joints still require attention, even in a system advertised as low maintenance.
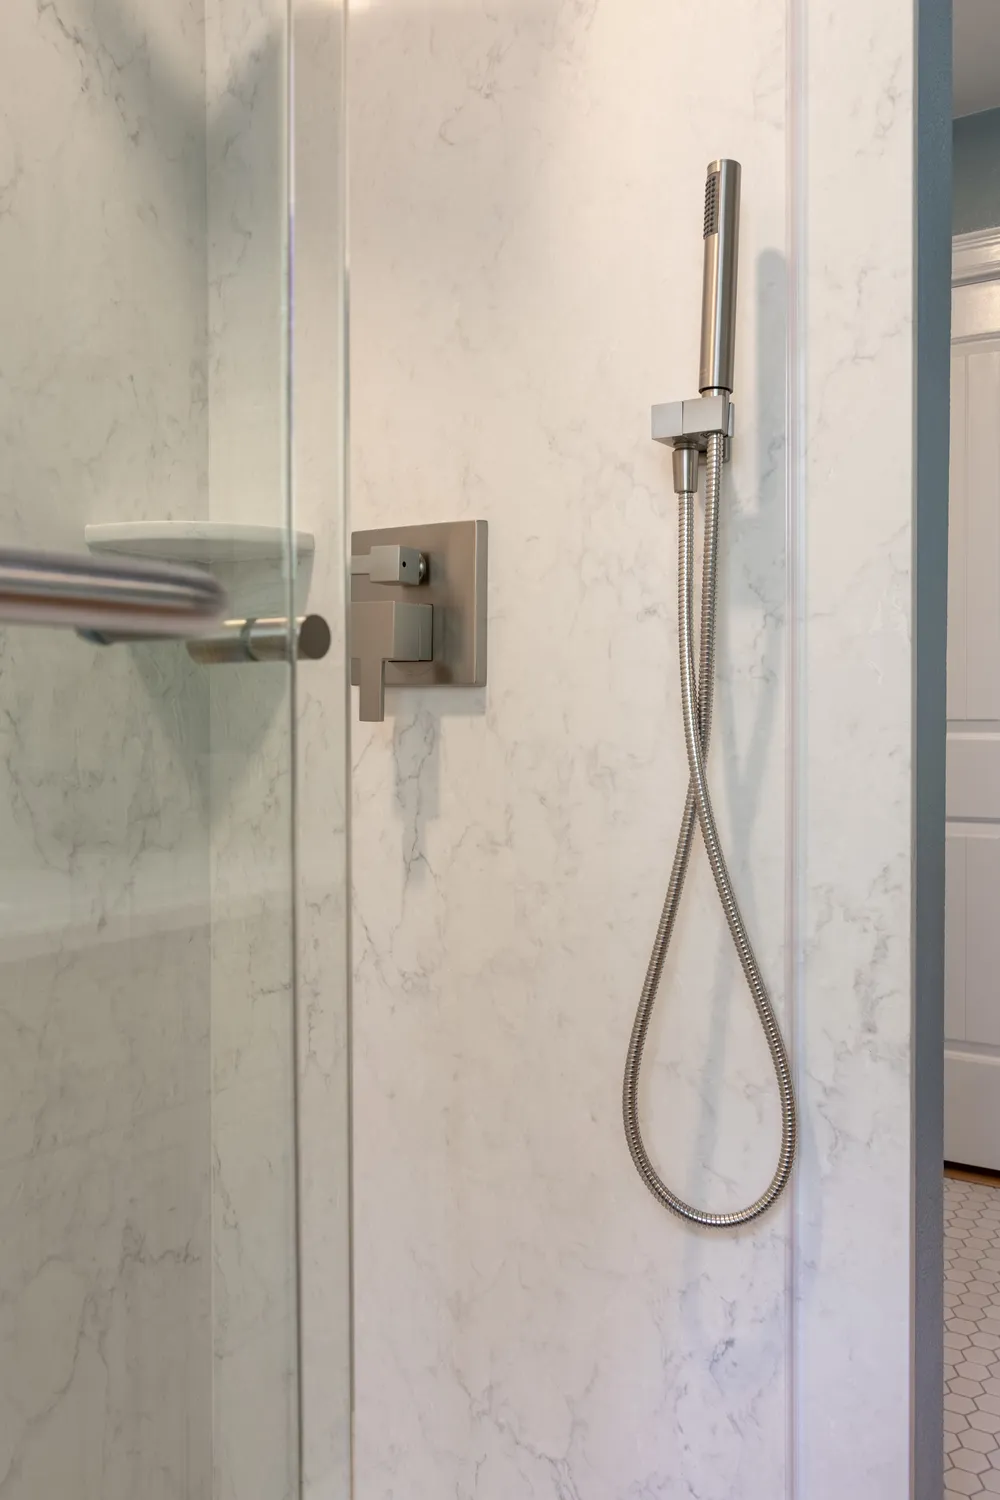
Solid-surface shower walls
Solid-surface systems offer broad wall sections with relatively few joints. They can be appealing when easy cleaning matters more than a detailed tile pattern. Ask how panels will be fitted to uneven walls and how the installation handles corners, plumbing penetrations, and the connection to the shower base.
Custom tile showers
Tile offers flexibility in layout, color, shelves, and niches. It also requires decisions about grout, edge trims, movement joints, tile size, and cleaning. Large-format tile can reduce grout lines, but floor tile must suit the drain and slope design.
The visible tile is only part of the assembly. Ask the contractor to explain what keeps water out of the walls and floor before discussing the finish pattern.
Walk-In, Low-Curb, and Curbless Showers Are Different
| Entry type | What it means | Planning tradeoff |
|---|---|---|
| Walk-in with a conventional curb | You enter the shower without stepping into a bathtub, but still cross a raised threshold. | May suit a straightforward remodel; the step still matters for some users. |
| Low-curb shower | A reduced-height threshold. | Check the actual finished height and how the user will cross it. |
| Curbless shower | No raised curb at the entry. | Needs coordinated floor heights, slope, drainage, and water protection beyond the opening. |
A curbless shower is not simply a conventional shower with the curb removed. Depending on the home, the design may involve recessing the shower floor or building up adjacent flooring. Schluter’s curbless shower guidance explains why these floor-height decisions must work with the drainage and waterproofing system.
A linear drain is one possible design choice, not a universal requirement. The right drain depends on the floor assembly, tile layout, plumbing access, and intended use.
If the goal is wheelchair access or easier assisted bathing, evaluate the entire route into the bathroom. A zero-threshold shower does little to solve a narrow doorway, insufficient turning space, or unreachable controls. Have the design reviewed for the person who will actually use it, including an occupational therapist when appropriate. Our aging-in-place remodeling guide goes deeper on planning for accessibility.
What Matters Most Behind the Shower Walls?
A continuous waterproofing assembly
Tile and grout are not inherently waterproof. The shower needs a properly specified system behind or beneath the finish, with compatible details at corners, seams, niches, fasteners, the drain, and the entry. Schluter’s shower-system guidance makes this distinction clear.
Ask what system the contractor plans to use, how its components connect, and what testing and inspections apply. Photographing the assembly before tile covers it creates a useful record for the homeowner.
Sound framing and subfloor
Old leaks may become visible only after demolition. Staining, deteriorated wood, an uneven floor, or previous repairs should be assessed before the replacement system is installed. New finishes should not conceal unresolved damage.
If unexpected conditions appear, request photos, an explanation of the proposed repair, and a written change order with its effect on cost and schedule.
Plumbing that suits the replacement shower
Keeping the drain near its old position can help limit work, but the plumber still needs to evaluate the existing piping and proposed shower. Drain suitability, valve selection, and access should be checked for the actual project. Do not assume every conversion needs the same pipe change—or that none is necessary.
Do You Need Permits in Vancouver, Clark County, or Portland?
Confirm the property’s permitting jurisdiction before construction. A Vancouver mailing address alone does not establish that a home is inside Vancouver city limits.
- City of Vancouver: The city describes trade work within its residential remodel permit process and a separate trade-permit route for qualifying standalone work. Check the scope with the City of Vancouver Permit Center.
- Unincorporated Clark County: County guidance states that installing plumbing fixtures requires a plumbing permit. Review the county’s residential permit guidance for your project.
- Portland: Portland lists installing or replacing showers and tubs among work requiring a plumbing permit. See Portland’s residential plumbing permit requirements.
Keeping fixtures in the same place does not establish a permit exemption. The contract should identify who obtains permits, arranges inspections, and documents completion. Outside this area, ask your local building department the same questions.
How Long Does a Tub-to-Shower Conversion Take?
Separate the planning period from the time your bathroom is under construction. Product selection, ordering, design, and permit processing can happen before demolition. Once work begins, the schedule depends on the shower system, existing conditions, inspections, and finish requirements.
A prepared opening and a readily available manufactured system can allow a short installation window. Custom tile, concealed repairs, floor changes, and made-to-measure glass can extend the project over multiple weeks. Ask your contractor for a schedule tied to your selected products rather than a universal promise — and see our bathroom remodel timeline for how the phases fit together.
- Measure and finalize scope: Confirm the layout, materials, entry, controls, and estimate.
- Order and prepare: Check product availability, permit needs, and the household’s bathing plan.
- Protect and demolish: Establish dust protection and remove the tub and affected finishes.
- Repair and rough in: Address exposed conditions and complete required plumbing or framing work.
- Build the shower assembly: Install the base, waterproofing, and wall system with required checks.
- Complete finishes: Finish tile or panels, fixtures, glass, and surrounding repairs.
- Inspect and hand over: Complete applicable inspections and provide care instructions.
Ask specifically: “On what date can we safely use the shower?” Construction completion, glass installation, and the end of required curing periods may be different milestones. Follow the selected products’ instructions.
Can a One-Day Conversion Be a Good Option?
A short installation can be appropriate for a prepared, straightforward project using a suitable manufactured system. The useful question is what the advertised day includes.
Ask whether demolition, plumbing, repairs, inspections, enclosure installation, and the wait before first use are part of that promise. Also ask what happens if damaged framing or unsuitable plumbing is discovered. A realistic schedule allows the crew to resolve those conditions.
Will Removing a Bathtub Hurt Resale Appeal?
It depends on the home and likely buyer. A shower may be more useful for someone who rarely bathes or struggles with a tub edge. A household with small children may value having a bathtub.
If you have another usable tub, converting one bathroom preserves both options. If this is the only bathtub, weigh your expected years in the home, your daily needs, and advice from a local real-estate professional. There is no universal return-on-investment percentage that settles the decision for every property.
How to Save Money Without Weakening the Finished Shower
- Keep a workable footprint. Expanding the shower can affect surrounding floors, walls, and fixtures.
- Choose standard sizes where they fit. Confirm dimensions before ordering products.
- Resolve selections early. Changes after rough-in or tile work can create avoidable rework.
- Prioritize daily function. A practical handheld shower and well-positioned controls may matter more than decorative upgrades.
- Compare enclosure options. A curtain, stock door, and custom enclosure involve different costs and access considerations.
- Ask about a hybrid design. A manufactured base with tile walls may suit your preferences and budget.
Discuss savings in finishes and scope before reducing preparation, structural repairs, waterproofing, or required inspections.
A Checklist for Comparing Shower Conversion Estimates
Ask each contractor to address the same items so you can compare equivalent work:
- Exact shower dimensions and finished entry height.
- Base, wall material, waterproofing system, and drain.
- Demolition, protection, hauling, and disposal.
- Plumbing scope, including the valve and supplied fixtures.
- Glass or curtain provisions and enclosure measurements.
- Niches, shelving, seating, and grab-bar support.
- Repairs to adjacent drywall, trim, paint, and flooring.
- Permit and inspection responsibility.
- Allowances, exclusions, applicable taxes, and payment milestones.
- Process for concealed damage and written change orders.
- Expected bathroom downtime and first-use instructions.
- Written workmanship and product warranty terms.
For more on vetting the company itself, read how to choose a remodeling contractor in Vancouver, WA.
Frequently Asked Questions
What is the cheapest way to replace a bathtub with a shower?
A standard manufactured base and compatible wall panels in the existing alcove are worth pricing first. The lowest complete-project cost still depends on the existing plumbing, wall condition, enclosure, and required repairs. A kit price alone is not an installed project price.
Can you install a shower without moving the drain?
Sometimes. A compatible base may align with the existing drain location, but a plumber must confirm that the existing installation suits the proposed shower and applicable requirements.
Is a walk-in shower automatically accessible?
No. “Walk-in” does not establish entry height, usable opening width, reach to controls, seating, or room for mobility equipment. Specify the user’s needs and review the complete bathroom layout.
Is a doorless shower practical in a small bathroom?
It can be difficult to contain spray in a compact opening. Have the designer evaluate showerhead direction, opening size, screen placement, drainage, and nearby finishes. A glass door or curtain may contain water more effectively for the available space.
Can I convert my only bathtub?
Yes, subject to the project’s design and local requirements, but consider how everyone in the home bathes and whether retaining a tub matters to future buyers. Make the decision around both present use and your ownership plans.
Can I do a tub-to-shower conversion myself?
The project crosses several trades and involves concealed water management. Before deciding, evaluate your ability to complete permitted plumbing, substrate preparation, waterproofing, and inspection coordination. Verify who is legally permitted to perform each part of the work locally.
Planning a Shower Conversion in Vancouver or Portland?
Serden Group LLC provides shower remodeling and bathroom remodeling in Vancouver, WA, Portland, OR, and surrounding communities.
Whether you prefer a straightforward replacement or a custom tile shower, start with the layout, the entry, and a clearly defined scope. Bring photos of your current bathroom and a short list of what you want to improve: cleaning, appearance, daily access, or space.
Call Serden Group at (360) 836-7775 or request your free estimate to discuss your tub-to-shower conversion.